ID Maker 3.0 Download Instructions
ID Maker 3.0 provides advanced features and functionality coupled with a straightforward user interface that our customers love. Whether you are creating photo ID badges, visitor cards, membership cards, or something else, we know you are going to get the perfect design every time.
Here are some tips to get you up and running:
1. Download and install your printer's driver and firmware by navigating to your printer's technical support page
NOTE: Installation of the driver, firmware, and software may require permissions from your company's IT department, depending on your specific security settings.
2. Download the IDMaker 3.0 Software Application
3. Follow the on-screen installation instructions:
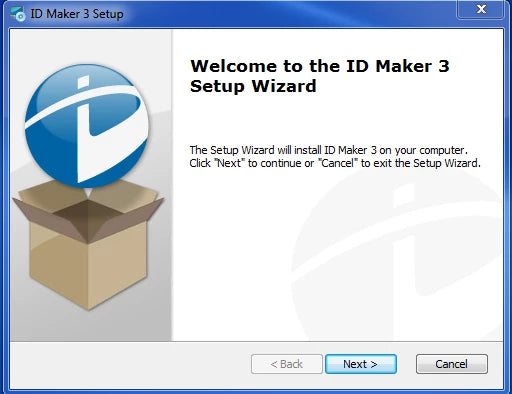
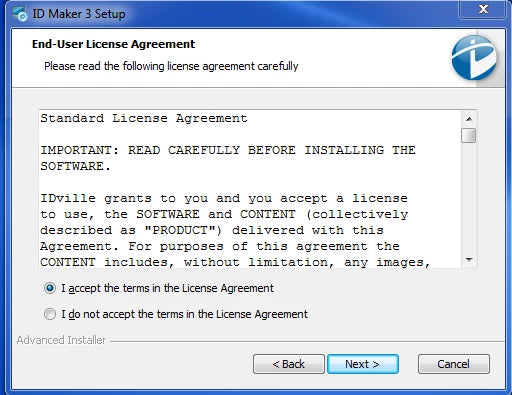
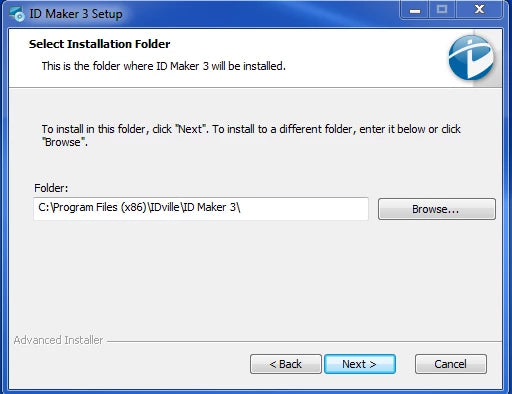
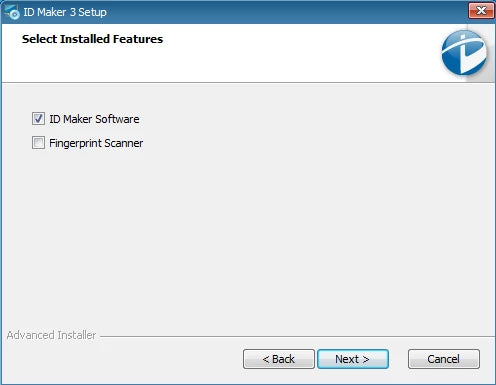
4. Install and run the program. This may require Admin access from your IT department, depending on security settings.
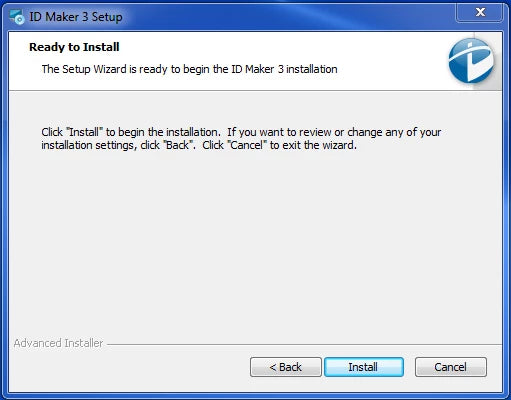
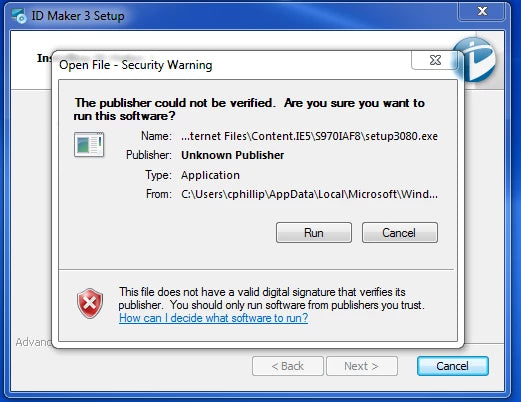
5. Finish the setup and enter the registration key that was provided to you.
NOTE: If you get a notification "Failed to initialize file paths", click "Okay", right click, and select "Run as Administrator". This is specifically for Windows 7, and you will only need to do this the first time you install.
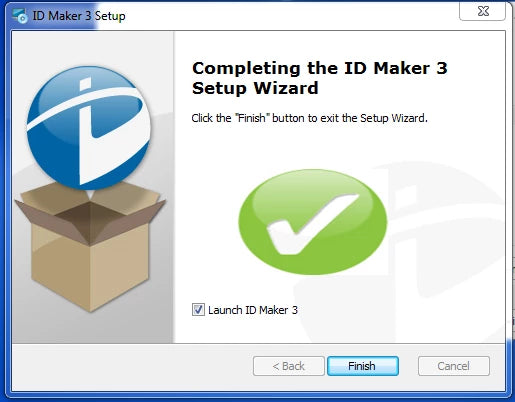
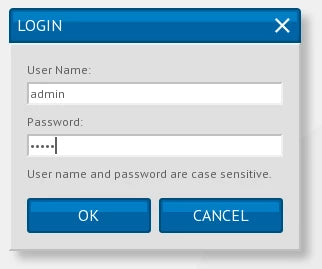
6. Login with username "admin" and password "admin"
7. Take a tour, start a new project, and design your perfect ID!