

This is your go‑to spot for printer support. From cleaning videos and supplies to scheduling a call with our technical support staff, it’s all here.


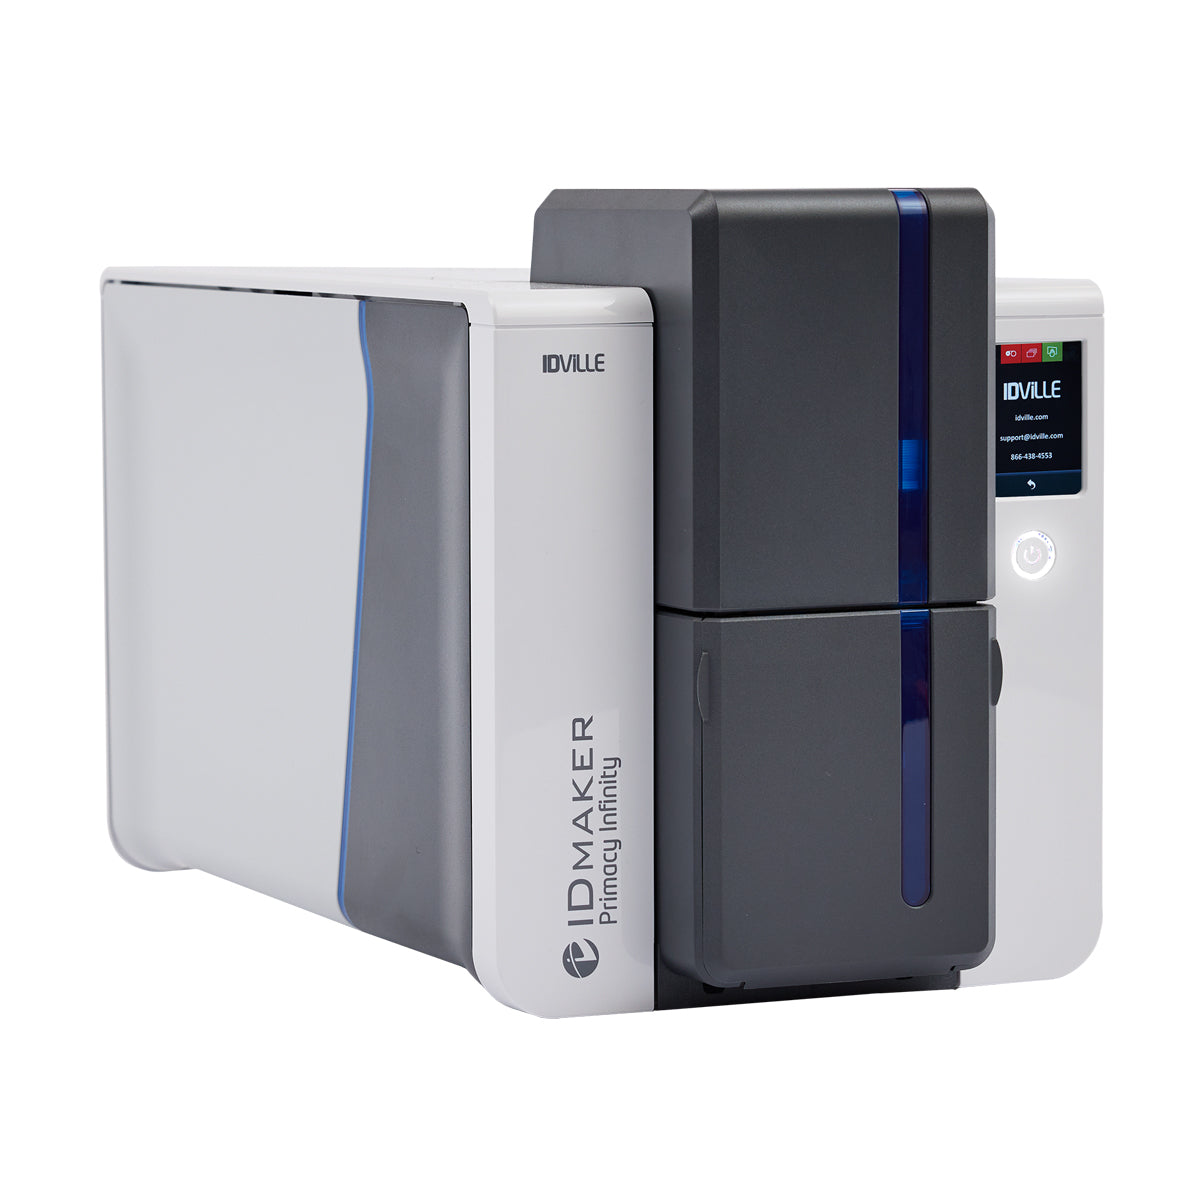


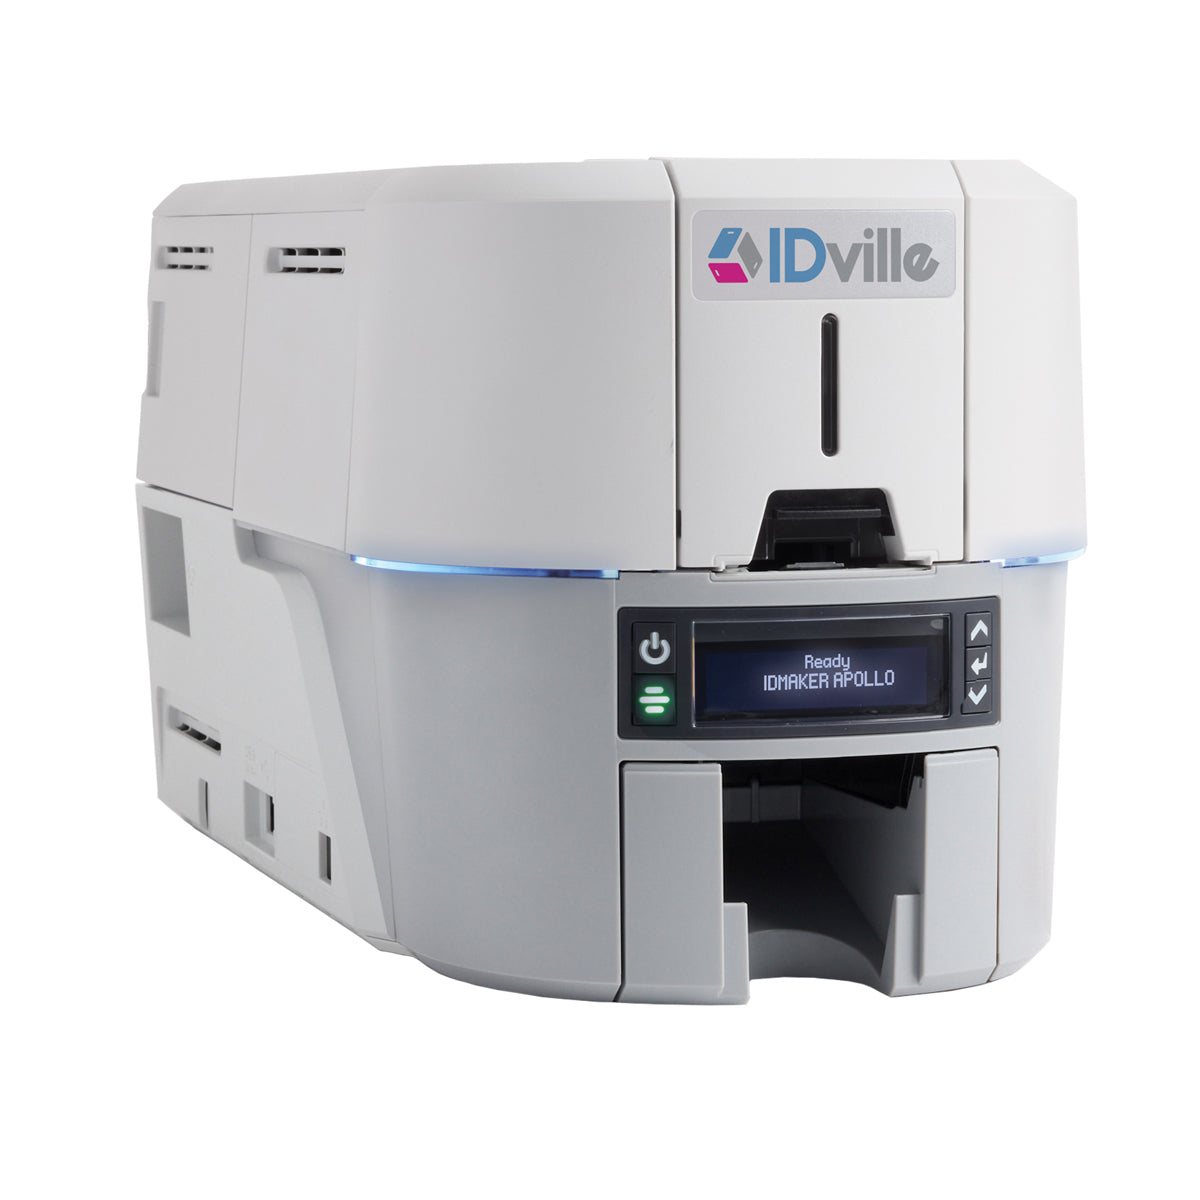


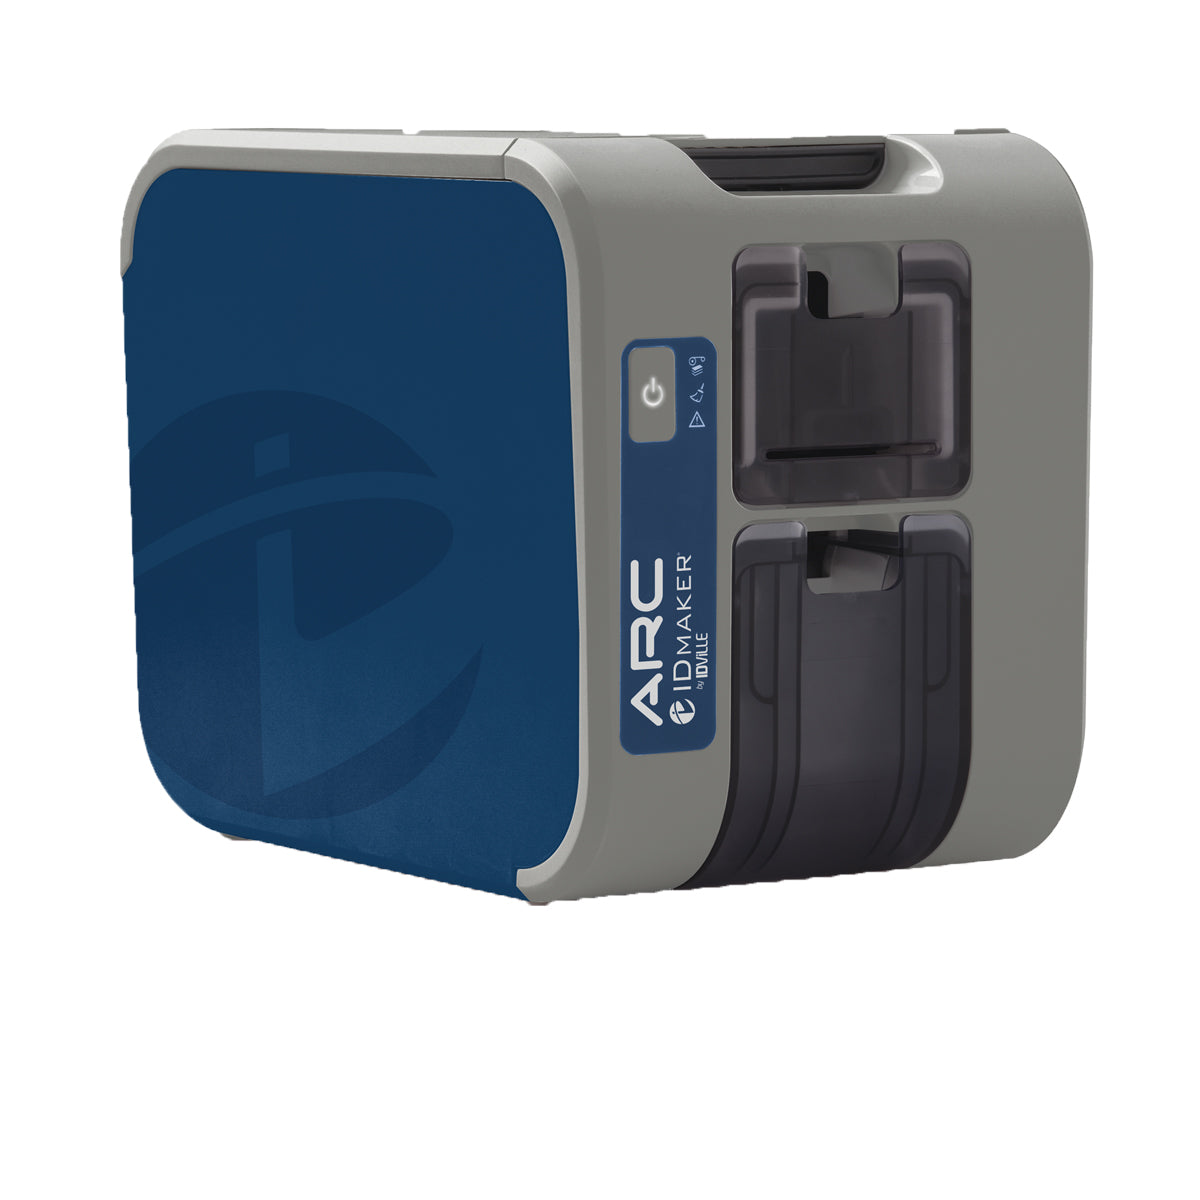


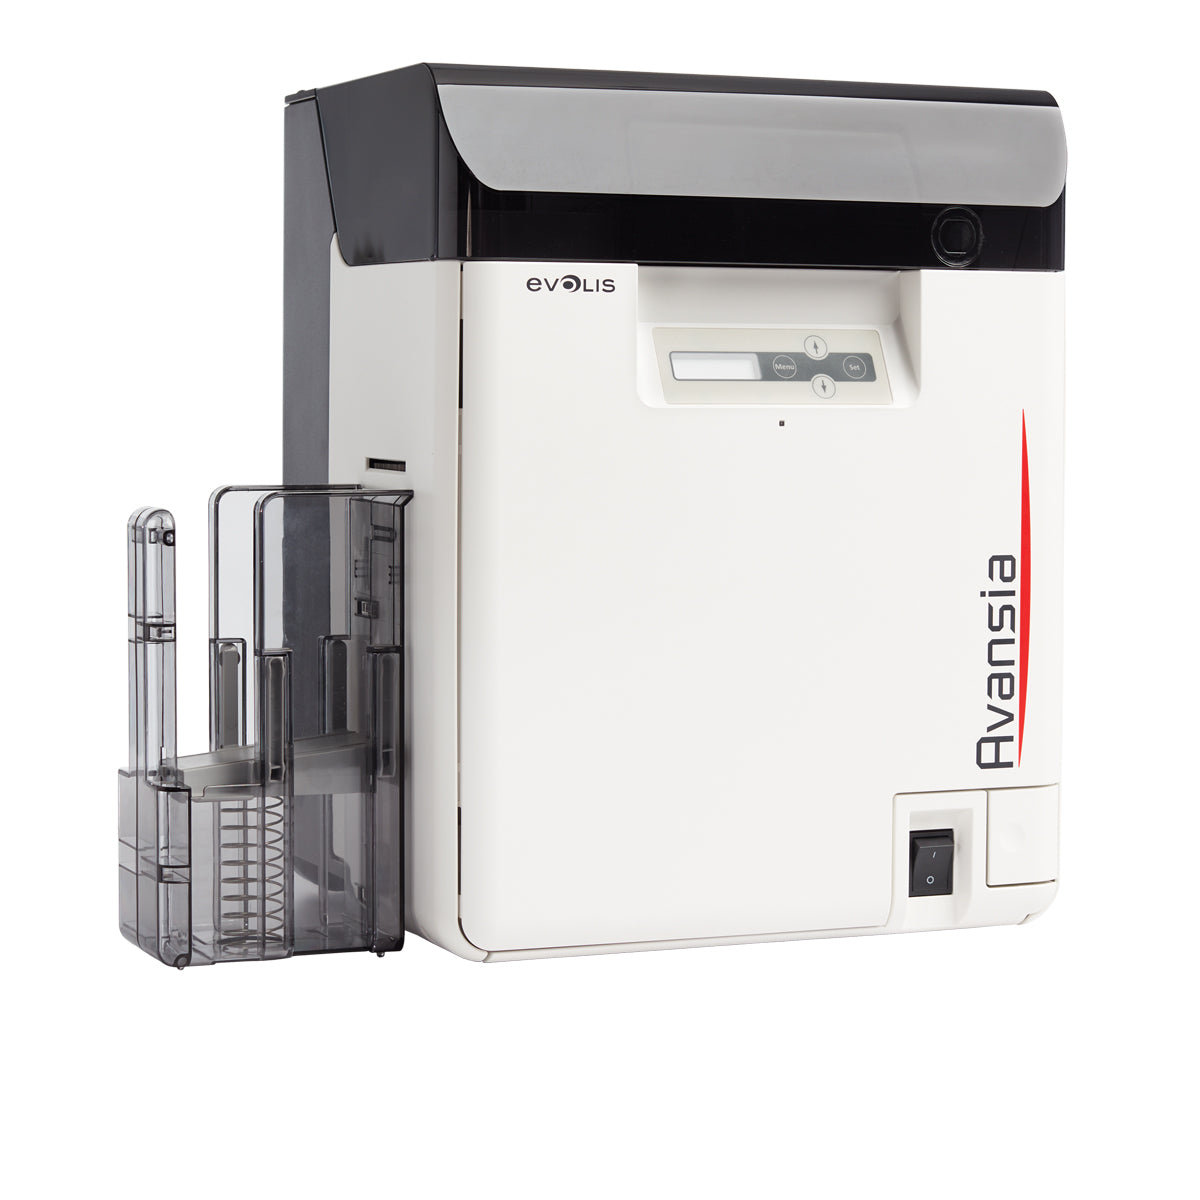
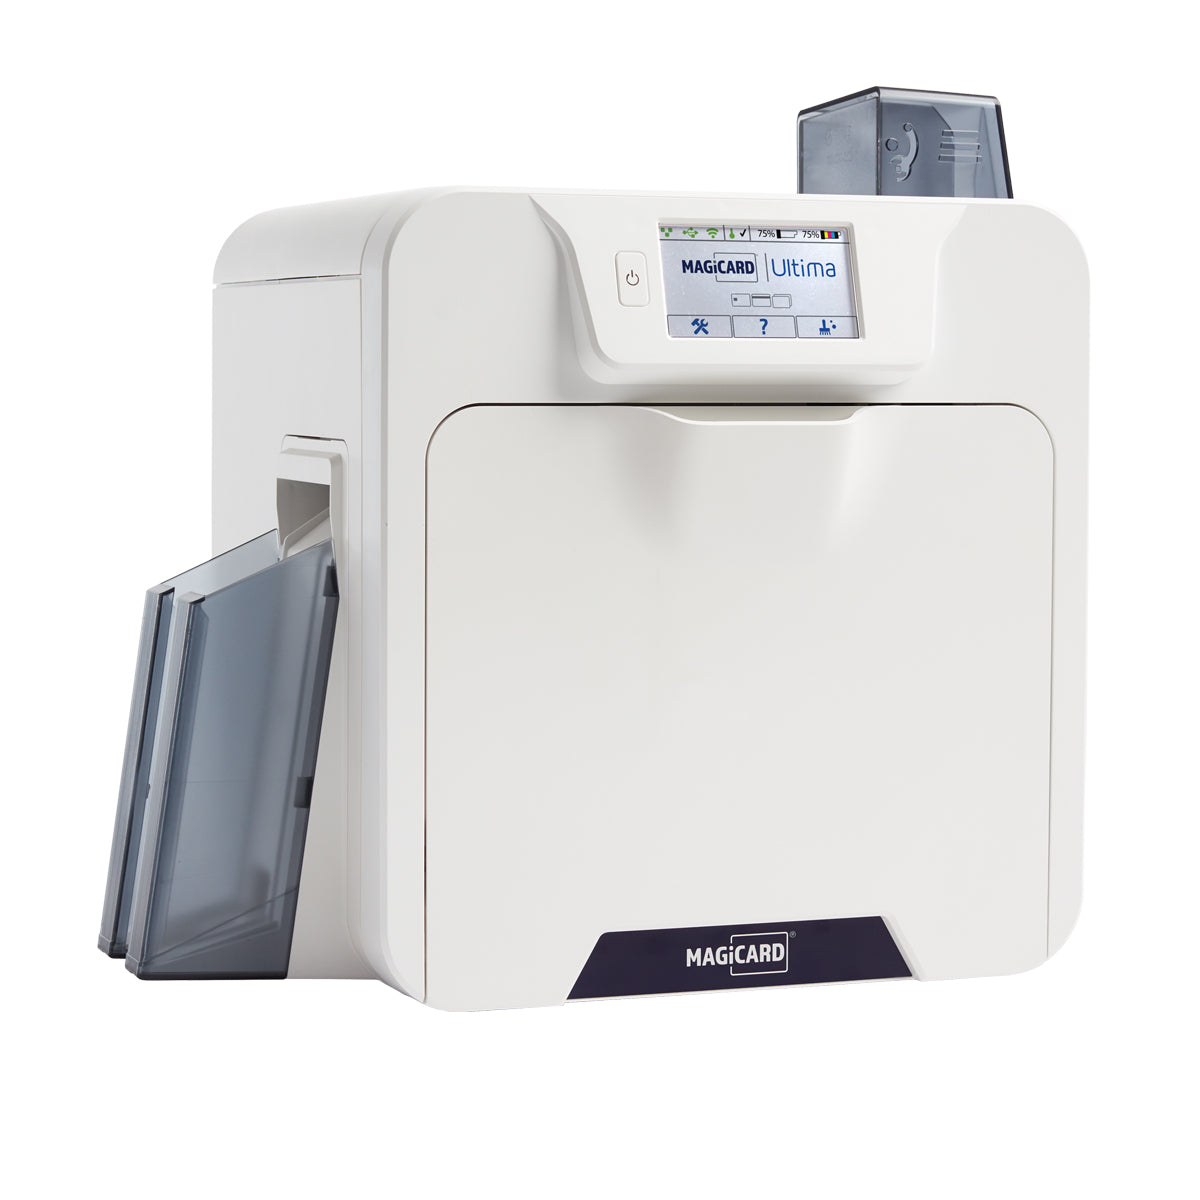
ID Maker Card Printer Troubleshooting
This Guide includes valuable tips and tricks to diagnose and solve errors quickly and effectively.
Match the error you are experiencing to one listed here, read the solution description carefully, and follow the suggested action steps to resolve the issue. If you are still experiencing the issue, you can book a time to talk to our technical support team above or give us a call: 866-438-4553.
If you are experiencing issues with ID Maker 3.0 software, please visit Software Support for troubleshooting tips.
First, power off the printer, reseat the USB cable on the computer and the back of the printer. Then power the printer on. If this does not work, please contact IDville Technical Support.
- Networking capabilities depend on the printer. Please contact IDville Technical Support for more information.
- Setting a Static IP Address - This process is referenced in the ID Maker Edge or Apex printer manual.
- Installed the setup, but the network cannot be found - To set up the network configuration, we recommend using the Microsoft network printer installer. Instructions can be found in the printer manual.
- Cancelling a print job - Navigate to your computer's control panel and select 'View Devices and Printers'. Right-click on the IDMaker Printer and in the dialogue box select "See What's Printing". Then right-click on the document and select "Cancel Print Job".
- Adjusting card thickness - ID Maker printers have a "card gauge" where you can adjust to the thickness of the card being used. You can find details in the printer manual. Click on your printer above and open the manual for information specific to your printer.
- Card feeding issues - The most common reason cards do not feed properly is due to dirty rollers in the
printer. If the printer has not been cleaned recently, perform a cleaning and ensure your printer is loaded with cards properly. - The printer is saying it is jammed - The first step would be to open your printer and take out any jammed cards. Second, perform a printer cleaning to get rid of any dust and debris that has built up in the printer.
- The printer is saying it is out of cards - If it is not actually out of cards, it means it is not feeding the cards properly, see #3 above.
- What are composite cars? The PVC 60/40 Composite Cards are made of 60% PVC and 40% polyester core and able to withstand extreme temperatures.
Your ID Maker printer should be cleaned every time you change the ribbon. This is the number one issue we see with printers that are not working correctly - clean the printer - voila, it prints great again!
You can find videos for how to change the printer ribbon or clean the printer on IDville's YouTube page or at the How to Videos link at the top of this page.
Every printer comes with a manufacturer's warranty. The duration of that warranty varies by printer. If you click on your printer, the manufacturer's warranty time period is listed at the top.
IDville also sells extended warranties for 1, 2, or 3 years. This extends the manufacturer's warranty for the specified time period. View IDville's Extended Warranty Statement
1. Color quality issues are likely due to the printer's color settings. How to change the color correction setting on your ID Maker Apex, Edge, Secure, Advantage, or Value printer:
- Open the ID Maker 3.0, select the badge you wish to print
- Click “Print Card”
- Select your ID Maker printer, click “Preferences” instead of “Print”
- Within the Preferences window, select the “Image” tab
- There will be drop down titled “Color Correction.” If you are unhappy with the default option, we suggest trying “None” or “Color Management (which is built into the driver)”
- Click “OK” and then “Print”
- If you are unhappy with the color of the badge, repeat these steps to test the other Color Correction options to find the best one for you.
- Once complete, follow the steps below for making your preferred settings your default.
To change the contrast and brightness (heat of printer) on your ID Maker Primacy, Infinity, or Zenius:
- Open the badge you wish to print
- Click “Print Card” to open the printer dialogue window
- Select the printer, then select "Preferences”
- Within the Preferences window, changing the Contrast and the Brightness will change how hot to printer prints. Higher causes the printer to print hotter, and lower causes the printer to print cooler.
- Generally we do not recommend going above 15 or below 5. For your issue, we normally try and normalize the temperature by going warmer (we recommend starting at 12, and then try again at 14.) Once you have the settings select, click “OK”
- Click “Print”
2. Photo quality matters; if the photos are blurry, we recommend reviewing your photo capture process. Typically, adding a light and having the camera closer to the subject will increase the quality. If the photos are the incorrect color, you would want to change the “Color Correction” setting in printer preferences on your computer (see #1 above).
3. Changing contrast & brightness - instructions for doing this can be found in the printer manual. Click on your printer above and open the printer manual for information specific to your printer.
4. Color matching - if the colors on the printed card do not match what is showing in the software the printer manual can provide information on how to modify the printer's color settings. Click on your printer above and open the printer manual for information specific to your printer.
5. A yellow border is printing on the cards: make sure you have the latest print driver installed and do a printer cleaning.
6. A black stripe down the right side: Please call our technical support to troubleshoot this issue.
7. White line down the center of the card: This usually means the printhead was damaged. If your printer is still under warranty, this repair may be covered. Please contact our technical support group for an accurate diagnosis.
- Error code definitions - First, check the tech support page for your specific printer model; the error code may be listed with a fix in the FAQ section at the bottom of that page.
- Printer screen flashing yellow and red - contact IDville technical support for assistance.
- Error message "600 DPI disabled" - 600 DPI is not selected in printer preferences on your computer. Open the printer preferences and select 600 DPI.
- Power button is flashing - contact IDville technical support for assistance.
- Printer says "Mechanical Error" - Mechanical errors are typically indicative of a jam or a feeding issue. Please verify that there are no cards stuck in the printer, and that the slider is set to the correct card thickness. For the IDville PVC cards, the slider should be set to "30 mil."
- Printer Model - your printer model may be found on the bottom or back of your printer. Most ID Maker printers have the model name imprinted on the front of the printer or in the LED or LCD screen. If this is not the case, give us a call with your serial number, and we can find it.
- Printer Serial Number - The serial number will be located on the bottom of the printer and it is unique to each printer.
1. If you cannot print double-sided cards:
- Make sure your printer is, in fact, a dual-sided printer.
- If it is, when you go to print, click on preferences. This will take you to the printer driver, where you should be able to select Dual or Duplex printing.
2. Printing double-sided cards on a single-sided printer:
- You will need to print one side, then flip the cards over and put them in the input card hopper to print the other side.
- Your printer can likely be upgraded to a dual-sided printer with the purchase of a special ribbon that 'unlocks' the dual-sided capabilities. This is a one-time purchase that will allow you to print dual-sided ID badges for the remainder of your printer's lifespan.
3. The duplex option is not showing in printer preferences - You can regain the duplex printing option by removing the printer from the device and printer menu through the Control Panel of your computer. Then unplug the printer and plug it back in.
- What is the difference between the driver and the firmware? The firmware is the code that is embedded and actually runs on the hardware (printer). It's what makes the hardware work. The driver is software on your computer that acts as a "middle-man" between the hardware (printer) and the OS (Operating System). It lets the OS know how to interact with the
hardware, like a translator. - Downloading the printer driver - Click on your printer above, download, and install the printer driver.
- Printer Driver Unavailable - Click on your printer above, download, and install the printer driver.
- Update printer firmware - Click on your printer above, download, and install the firmware.
- The ribbon/film breaks - This sometimes happens due to a printer being too hot or because the card and film are not moving properly throughout the printer. You can tape it back together using clear tape. Just tape it where it broke and roll it so you are unable to see the tape any longer. We also recommend cleaning your printer and making sure you are using the power cord that came with the printer.
- The printer is saying the film is stuck or cut - If you are getting this error after installing a ribbon from a sealed package, lift open the lid of the printer, remove the ribbon, and verify that the ribbon is connected between the two spool ends. Then reseat the ribbon. If it was not from a sealed package, ensure the ribbon is wrapped around the spool at the front of the printer to ensure you are using a new ribbon and not a used ribbon.
- Printer is showing a wrong film type message - Check the 5-digit item number that can be found on the box the ribbon came in. Then go to our website and type the item number into the search bar, review the item details to ensure it is the correct ribbon for your printer. If it is the correct ribbon, contact IDville Technical Support for further troubleshooting.
- Printer Offline
- Make sure the printer is plugged into a power source.
- Ensure the USB is connected between the printer and the computer.
- Check that the driver is installed.
- Printer Not Displaying as an option when printing - This usually means the printer driver is not installed on the computer.
Each IDMaker printer has specific power requirements. Using the incorrect power supply will lead to your printer not functioning properly.
Some common indicators of incorrect power supplies include: the printer not powering
on, the printer being unable to print, the printer displaying error codes, a print coming out faded, or a print not properly bonding to the cards.